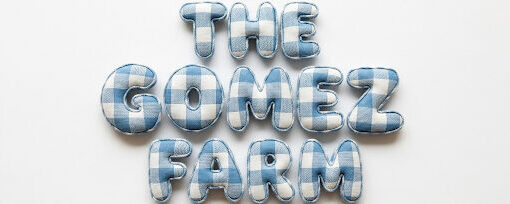
How to make a rag quilt
The Joy of the Rag Quilt: Your Perfect First Step into Quilting
If you have ever wanted to try your hand at quilting but felt intimidated by the idea of perfectly matching corners and complex patterns, the rag quilt is exactly where you should start. It is a project that celebrates imperfections, encourages creativity, and results in one of the most tactile, cozy blankets you will ever own.
Unlike a traditional quilt, where the seams are hidden inside for a crisp look, a rag quilt turns the rules upside down. The seam allowances are exposed on the outside and then “snipped” to create a soft, frayed fringe. It is rustic, charming, and incredibly forgiving.
Why the Rag Quilt is the Ultimate Beginner Project
Many people see quilting as a high-pressure craft, but the rag quilt is the “gateway” for a few simple reasons:
- No “Quilting” Required: In a standard quilt, you sew the top, then the batting, then the back, and then you have to “quilt” all three layers together. With a rag quilt, you quilt each individual square first. This is much easier to manage on a standard sewing machine.
- Imperfection is a Feature: If your seams aren’t perfectly straight, nobody will ever know! The frayed fringe hides almost every minor mistake.
- Fast Results: You can often finish a crib-sized or throw-sized rag quilt in a single weekend.
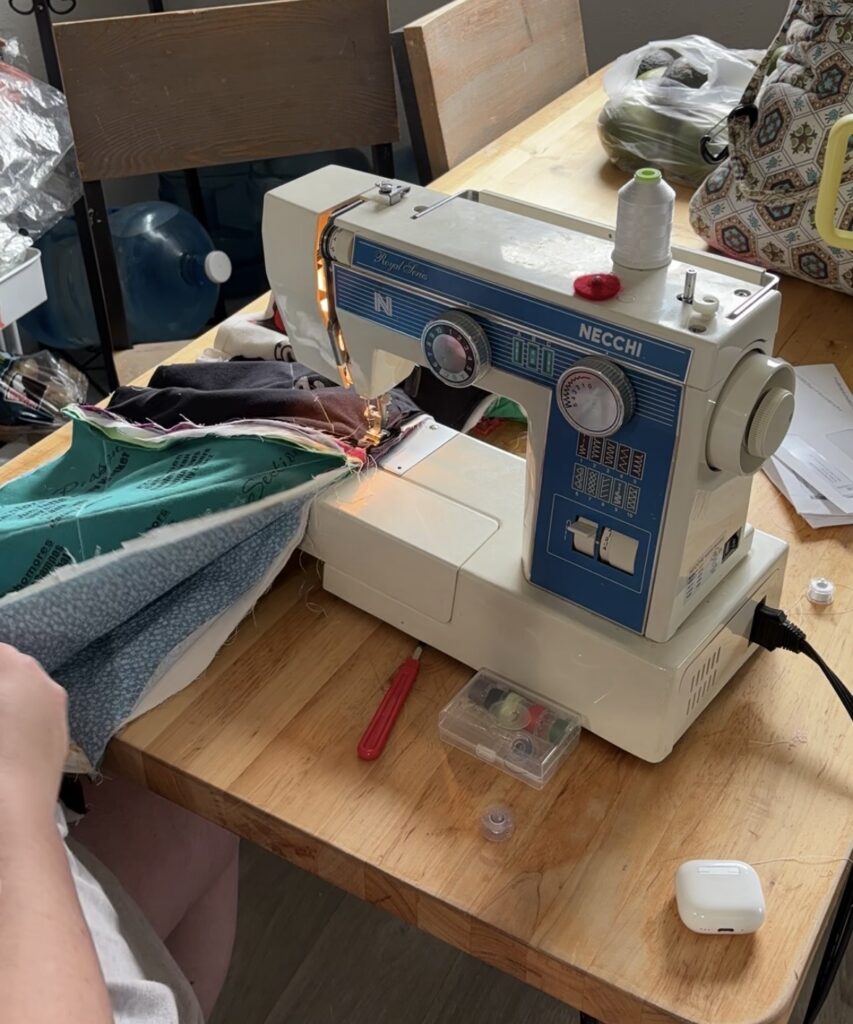
- Simple Tools: You don’t need specialized long-arm machines—just your basic sewing machine and a good pair of scissors.
What You Will Need
To get started, you will need three layers for every square:
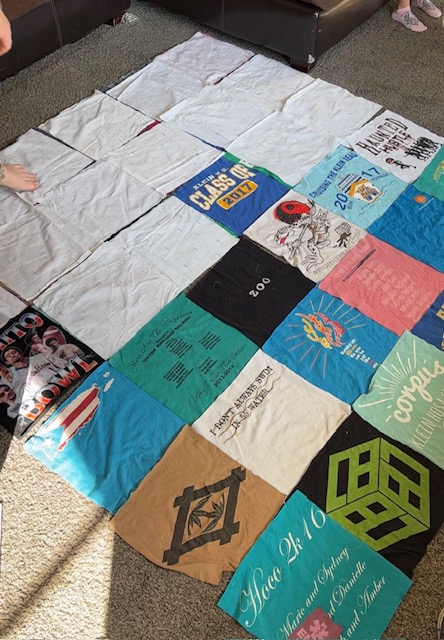
- Top Layer: Usually a high-quality cotton or flannel. You can also use t-shirts, which has been my favorite way to make rag quilts memorable.
- Middle Layer: Flannel or low-loft cotton batting (flannel is easier for beginners). The more middle layers you do the thicker your quilt will be. Using unwanted or thirsted sheets are a great option for the middle layers.
- Bottom Layer: More flannel or cotton.
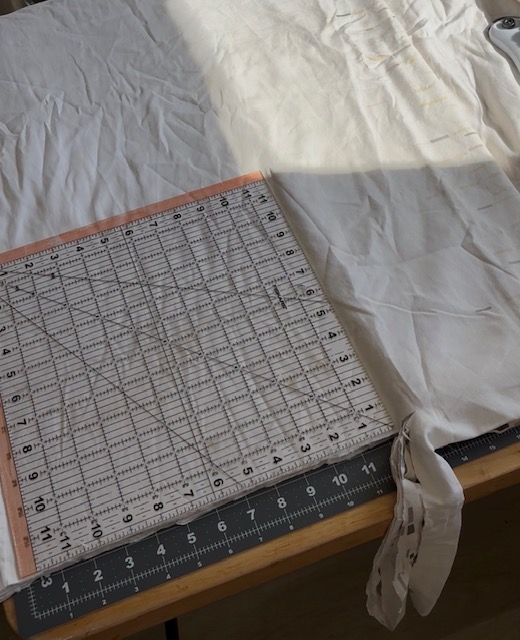
Tools: * A rotary cutter and mat (or sharp fabric scissors).
- A walking foot for your sewing machine (optional, but helpful for thick layers).
- Square Quilting ruler
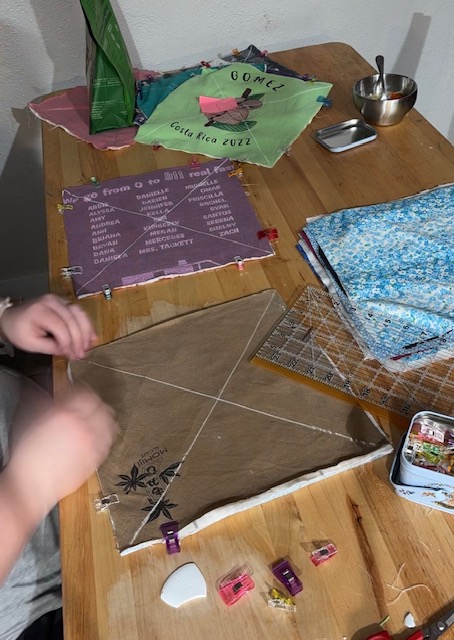
- Sewing Clips (pins will work too, clips are easier)
The Process: Step-by-Step
1. Plan and Cut
Decide on the size of your squares. 6-inch or 8-inch squares are standard for beginners. You will need to cut an equal number of squares for your top, middle, and back layers. For example, a 48-inch x 60-inch throw using 8-inch squares would require 60 “sandwiches” (180 total squares). I did 12-inch squares because I used t-shirts for the tops and those I had pre-cut.
2. Make the “Sandwich”
Layer your squares: Back (pretty side down), Middle (batting), and Top (pretty side up).
3. Quilt the Squares
Sew a simple “X” from corner to corner through all three layers of each sandwich. This secures the batting so it doesn’t shift when you wash the quilt later. Once all your squares have an “X,” you are ready to assemble.
4. Sew the Rows (The “Wrong Way” Rule)
This is the most important part: Place the back sides together. In traditional sewing, you put “right sides together” to hide the seam. In rag quilting, you put the back sides together so that the seam allowance stands up on the top of the quilt. Use a 1-inch or 1/2-inch seam allowance.
Sew your squares into rows, and then sew your rows together. You can press your seams open as you go to reduce bulk, but I didn’t do it so it is an optional step.
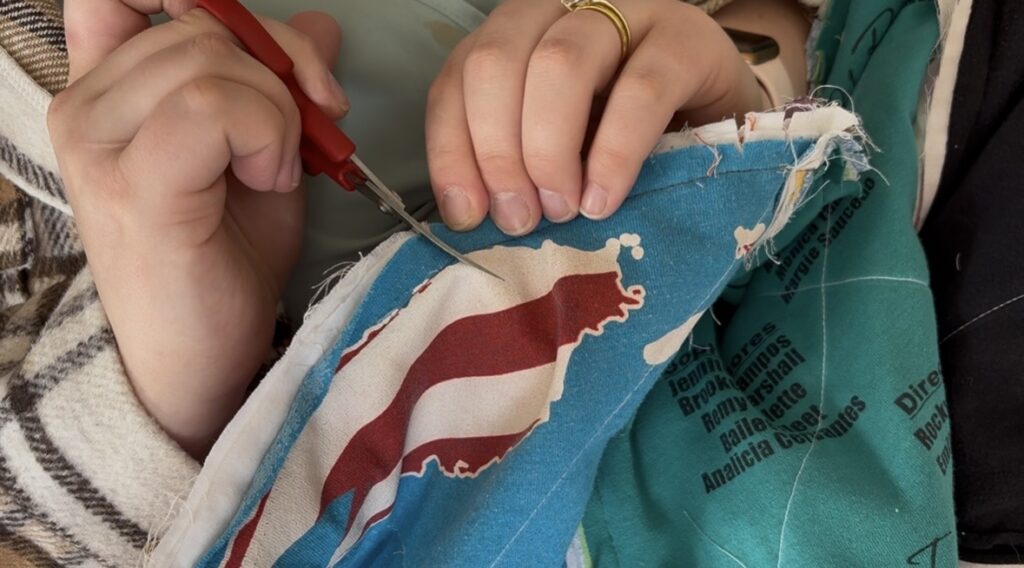
5. The Fraying Process
Once the quilt is fully assembled, sew a border around the entire edge of the quilt, about an inch from the edge.
Now, take your snips and cut into the exposed seam allowances every 1/4 to 1/2 inch. Be very careful not to cut through your actual seam line! This creates the “fringe” that will eventually bloom into soft fluff.
6. The Magic of the Wash
The quilt won’t look like much until it hits the water. Toss it in the washing machine and then the dryer. The agitation and heat will cause those snipped edges to fray and blossom, creating that signature cozy, ruffled look.

From Rag Quilts to Heirloom Quilts
The beauty of starting here is that you learn the fundamentals of seam allowance, fabric grain, and machine tension without the stress of “ruining” a project. Once you master the rag quilt, you will have the confidence to try a traditional patchwork quilt.
There is a deep satisfaction in taking raw fabric and turning it into a functional piece of art for your home. It’s a slow, intentional process that honors the tradition of homemaking while giving you something beautiful to snuggle under.
Ready to start? Pick out three of your favorite flannel prints and get cutting!

