Homemade Pinto Beans-with pressure cooker
The Magic of the Pressure Cooker: Making Perfect Homemade Pinto Beans
There is something deeply nostalgic and comforting about a big pot of pinto beans simmering on the stove. For many of us, it’s a scent that reminds us of grandma’s kitchen or a cozy Sunday afternoon. But let’s be honest: in our busy, modern lives, who has four to six hours to stand over a stove watching a pot boil?
This is where the pressure cooker (like an Instant Pot or a traditional stovetop model) becomes your absolute best friend. If you’ve ever avoided making dry beans because of the “overnight soak” or the massive time commitment, I have great news for you. You can have creamy, flavorful, “slow-cooked” pinto beans on your table in under an hour.
In this post, I’m going to break down why you should ditch the cans, how to master the pressure cooker method, and a simple recipe that will make you a bean-cooking pro.
Why Go Dry? (And Why Use a Pressure Cooker?)
You might be wondering, “Why bother with dry beans when a can costs about a dollar?” It’s a fair question! But once you taste homemade beans, you’ll realize there is no comparison.
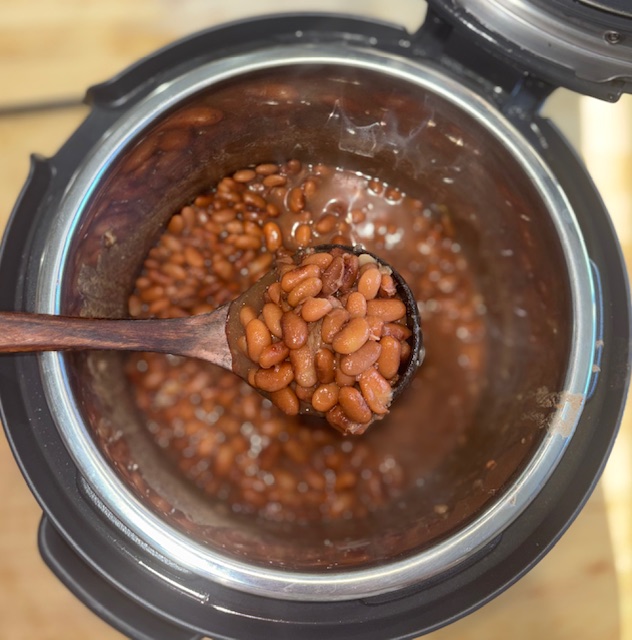
- Texture: Canned beans can often be metallic or mushy. Homemade pinto beans have a “pot liquor” (the broth) that is naturally creamy and thick, and the beans themselves stay intact while remaining buttery on the inside.
- Flavor Control: When you cook from scratch, you control the salt and the aromatics. You can add garlic, onion, smoked meats, or chilis directly into the cooking process so the flavor is cooked into the bean, not just sitting on top of it.
- Cost: A one-pound bag of dry pinto beans is incredibly cheap and feeds a crowd. It’s one of the most budget-friendly ways to get high-quality protein into your diet.
- The Speed Factor: Normally, dry beans are a marathon. With a pressure cooker, it’s a sprint. High pressure forces moisture into the center of the bean much faster than boiling does, cutting your cook time by about 80%.
To Soak or Not to Soak?
This is the age-old debate in the bean world.
- The No-Soak Method: The beauty of the pressure cooker is that you do not have to soak your beans. You can take them straight from the bag, rinse them, and throw them in. They will take about 45 to 50 minutes to cook.
- The Soaking Method: If you choose to soak your beans (either overnight or using a “quick soak” method), they will cook much faster—usually in about 15 to 20 minutes. Soaking can also help reduce the complex sugars that cause gas, making them easier on the digestion.
For this recipe, I’m going to focus on the no-soak method, because let’s face it—most of us decide we want beans about an hour before dinner starts!
The Ultimate Simple Pinto Bean Recipe
This recipe is designed to be a “base.” It’s flavorful enough to eat in a bowl with a piece of cornbread, but simple enough to be mashed into refried beans or tossed into a taco using my homemade sourdough tortillas.
Ingredients:
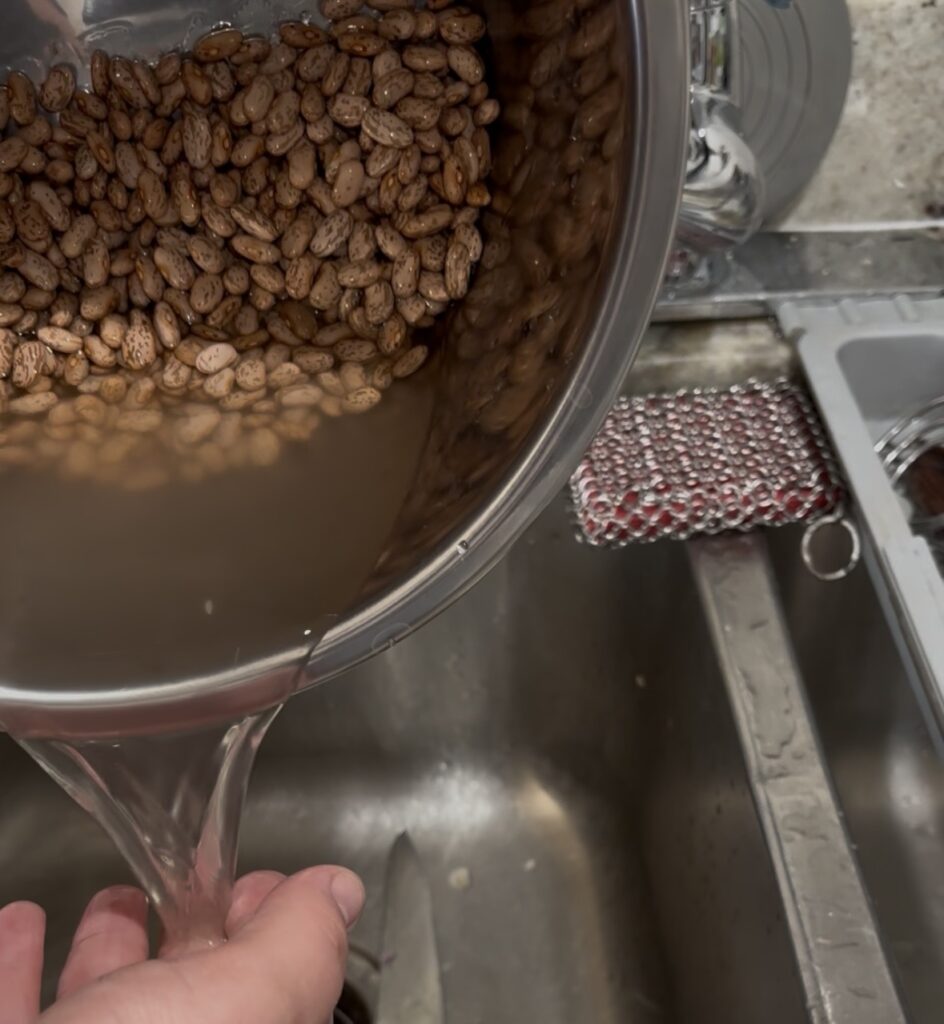
- 1 lb Dry Pinto Beans: Pick through them to remove any small stones or debris, then rinse them well in cold water.
- 6 Cups of Liquid: You can use water, chicken broth, or vegetable broth. Using broth adds an extra layer of richness.
- 1 Yellow Onion: Just peel it and cut it in half. No need to dice! It will flavor the broth beautifully.
- 8 Cloves of Garlic: Smashed.
- 1 Teaspoon of Cumin: For that classic earthy warmth.
- 1 Bay Leaf: For a subtle herbal note.
- Salt and Pepper: Wait to add the bulk of your salt until the end! Adding too much salt at the beginning can sometimes make bean skins tough.
- Optional: A ham hock, a few slices of bacon, or a pinch of smoked paprika for a smoky depth.
Instructions:
1. Prep the Beans
Place your rinsed beans into the inner pot of your pressure cooker. Add the onion halves, smashed garlic, cumin, bay leaf, and your smoky element if you’re using one. You can also add a ham bone to make a more rich flavor.
2. Add the Liquid
Pour in your 6 cups of water or broth. You want to make sure the beans are submerged by at least two inches of liquid. Warning: Never fill your pressure cooker more than halfway when cooking beans, as they foam up and expand!
3. Set the Pressure
Secure the lid and ensure the steam valve is set to the “Sealing” position. Set your cooker to High Pressure for 45 minutes.
4. The Secret Ingredient: Patience (The Natural Release)
Once the timer goes off, do not flip the steam vent immediately. If you do a “Quick Release,” the sudden change in pressure can cause the beans to explode out of their skins. Instead, let the pressure dissipate naturally for at least 20 minutes. This allows the beans to finish softening gently.
5. Season and Serve
Open the lid. Remove the onion halves and the bay leaf. Now, taste your broth. This is when you add your salt. Stir it in and let it sit for five minutes so the beans can soak up the seasoning. If the broth looks too thin, you can simmer it for a few minutes with the lid off to thicken it up.
Ways to Enjoy Your Pinto Beans
Now that you have a beautiful pot of beans, what do you do with them?
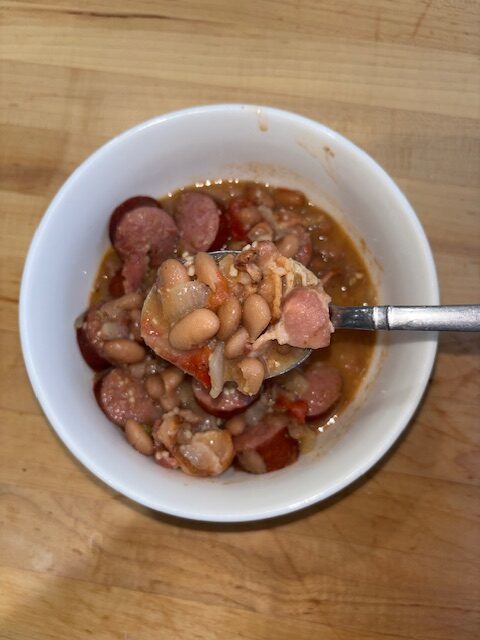
- The Classic Bowl: Serve them in a deep bowl with the broth, topped with chopped raw onions, fresh cilantro, and a squeeze of lime.
- Pinto Bean Tacos: Drain the liquid and toss the beans with some chili powder and lime juice for a vegetarian taco filling.
- Homemade Refried Beans: Drain the beans (save a little liquid) and mash them in a skillet with a little bit of butter or lard. They will be creamier than anything you’ve ever bought in a store.
- Bean Salad: Chill the beans and mix them with corn, bell peppers, and a vinaigrette for a refreshing side dish.
My thoughts
Cooking dry pinto beans doesn’t have to be a daunting task that requires a whole day of planning. With a pressure cooker, you can turn a humble bag of beans into a rich, creamy, and nutritious masterpiece in less time than it takes to watch a movie. It’s healthier, cheaper, and infinitely more delicious than the canned alternative.
Next time you’re at the store, grab a bag of pintos and give this a try. Your taste buds (and your wallet) will thank you!
Common Pressure Cooker Bean Challenges (and How to Fix Them)
Even with the speed of a pressure cooker, beans can sometimes be a bit finicky. Here is a quick guide to troubleshooting the most common issues so your pinto beans come out perfect every single time.
1. The “Still Crunchy” Conundrum
If the timer goes off, you release the pressure, and the beans are still firm, don’t panic.
- The Cause: Usually, this is due to “old” beans. Dry beans have a long shelf life, but if they’ve been sitting for years, they lose the ability to absorb water easily. Hard water (high mineral content) can also toughen the skins.
- The Fix: Simply add another 1/2 cup of water if the pot looks dry, seal it back up, and cook for an additional 10 to 15 minutes on high pressure.
2. The Exploding Bean (Blown-out Skins)
If your beans look like a mashed mess with skins floating everywhere, they were likely handled too roughly.
- The Cause: Performing a “Quick Release” (flipping the valve immediately) causes a violent change in pressure that makes the water inside the bean expand rapidly, bursting the skin.
- The Fix: Always use Natural Release for at least 20 minutes. This allows the pressure to drop slowly and keeps the beans intact.
3. The Foam Fountain
Sometimes, starchy foam can spray out of the steam valve during release, creating a messy kitchen.
- The Cause: Beans produce natural saponins (soapy compounds) and starch that foam up when boiling.
- The Fix: Never fill your pressure cooker more than halfway when cooking beans or grains. Adding a tablespoon of oil or butter to the pot also helps break the surface tension of the bubbles and keeps the foam down.
4. The “Bean Gas” Factor
If beans tend to cause digestive discomfort, there are ways to mitigate it even in a pressure cooker.
- The Fix: While the “no-soak” method is fast, a Quick Soak can help. Bring the beans and water to pressure for just 1 minute, then do a quick release. Drain that water (which carries away many of the gas-producing sugars), add fresh water/broth, and then proceed with the full cooking time.
Quick Reference Timing Chart
| Bean Status | Cook Time (High Pressure) | Release Method |
| Unsoaked (Dry) | 45–50 Minutes | 20 Min Natural Release |
| Soaked (Overnight) | 15–20 Minutes | 20 Min Natural Release |
Homemade Pino Beans-Pressure Cooker
Equipment
- 1 pressure cooker
Ingredients
- 1 lb dried pinto beans
- 6-10 cloves garlic
- 1 onion
- 2 tsp cumin
- 2 TBSP salt
- filtered water or stock-enough to cover beans
Instructions
- Sort pinto beans, pick out any broken beans or rocks.
- Wash thoroughly with cold water.
- Place pinto beans, in your pressure cooker pot and fill with filtered water until the water level is 2 inches above the beans. (This is approximately the same as placing your finger on top of the beans and filling with water to your second knuckle).
- Add garlic and onion chopped in half.
- Add salt and pressure cook on high for 45 minutes.
- Once done blend with an immersion blender or mash with water that is still left.