
How to make a sourdough starter from scratch
Have you always wanted to make sourdough but the thought of making a starter from scratch is intimidating? You’re in luck! Here is a step by step process of how to make your starter. This recipe is formulated for high altitude and low humidity. If you live somewhere like that then this is the sourdough recipe for you! If not, you can still follow these instructions, but you will have to tweak your starter based on where you live.
Why does where I live affect my starter?
Sourdough can be affected by where you live. If you live in a place that is hot and humid you will want to use colder water, less starter, and more flour. I used to live in Texas and my starter would grow fast and die fast. The problem in high humidity is the starter grows at a rapid pace, but is weaker. You need to use the starter faster than you would anywhere else.
Warm vs cold weather affecting your starter
As stated previously warm weather promotes growth, the ideal temperature for your starter is between 70-80 degrees. Finding places in your home to maintain that temperature is imperative. The warmer the temperature the milder the flavor of the sourdough is because the fermentation happens very fast. The colder the temperature the slower the fermentation process is and the stronger the sourdough flavor is.
If you live somewhere cold then keeping your sourdough in a warm place like the dryer, under your sink, in your oven with the light on, or even in your microwave with the light on is good. Living in a place where it is hot, I wouldn’t take any extra measures to ensure your sourdough stays warm. Having it at the ideal temperature will ensure a nice strong starter that will grow a perfect tasty loaf.
High vs Low altitude
High altitude means decreased air pressure, or in other words thinner air. The decreased air pressure speeds up the sourdough fermentation process. So here in Utah where I live it’s best to use less starter, more water, and more flour. Along with that utilizing bulk fermentation to lessen the chance of over proofing.
Does all that sound like a different language? It did to me when I first started too. But do not fear I will break all that down here!
Mountain Magic: Starting Your Sourdough Starter is Easy and Cheap at High Altitude!
Have you ever gazed out at the mountain view and thought, “I wish I could bake incredible, healthy bread right here?” If you live high up, maybe you’ve heard that baking is tricky. But here’s a wonderful secret: starting a sourdough starter from scratch is actually easy, fast, and very affordable at high altitude!
Forget the complicated rules. All you need are two simple ingredients, a jar, and a little patience. Before you know it, you’ll have a bubbly, living pet that opens up a whole new, delicious world of baking.
The Best Part: It’s So Easy and So Cheap
Let’s talk about why this is the perfect mountain hobby.
1. Only Two Ingredients (And You Already Have Them!)
To start a sourdough starter, you only need:
- Flour: Simple all-purpose unbleached flour or bread flour works great.
- Water: Room temperature, non-chlorinated water is best. If your tap water is heavily treated, use filtered water.
That’s it! You mix flour and water in a jar, cover it loosely, and let it sit. Every day, you “feed” it by adding more flour and water. The whole process uses less than a dollar’s worth of ingredients daily, making it one of the cheapest projects you can start.
2. High Altitude May Speed Things Up!
This is where living high up gives you a special advantage. You might find that your starter wakes up and gets bubbly faster than recipes written at sea level.
Why? The drier air and the slightly lower atmospheric pressure can sometimes encourage the wild yeast and bacteria in your flour to get active more quickly. Instead of waiting two weeks for a good rise, you might see big bubbles and a sour smell in just 5 to 7 days!
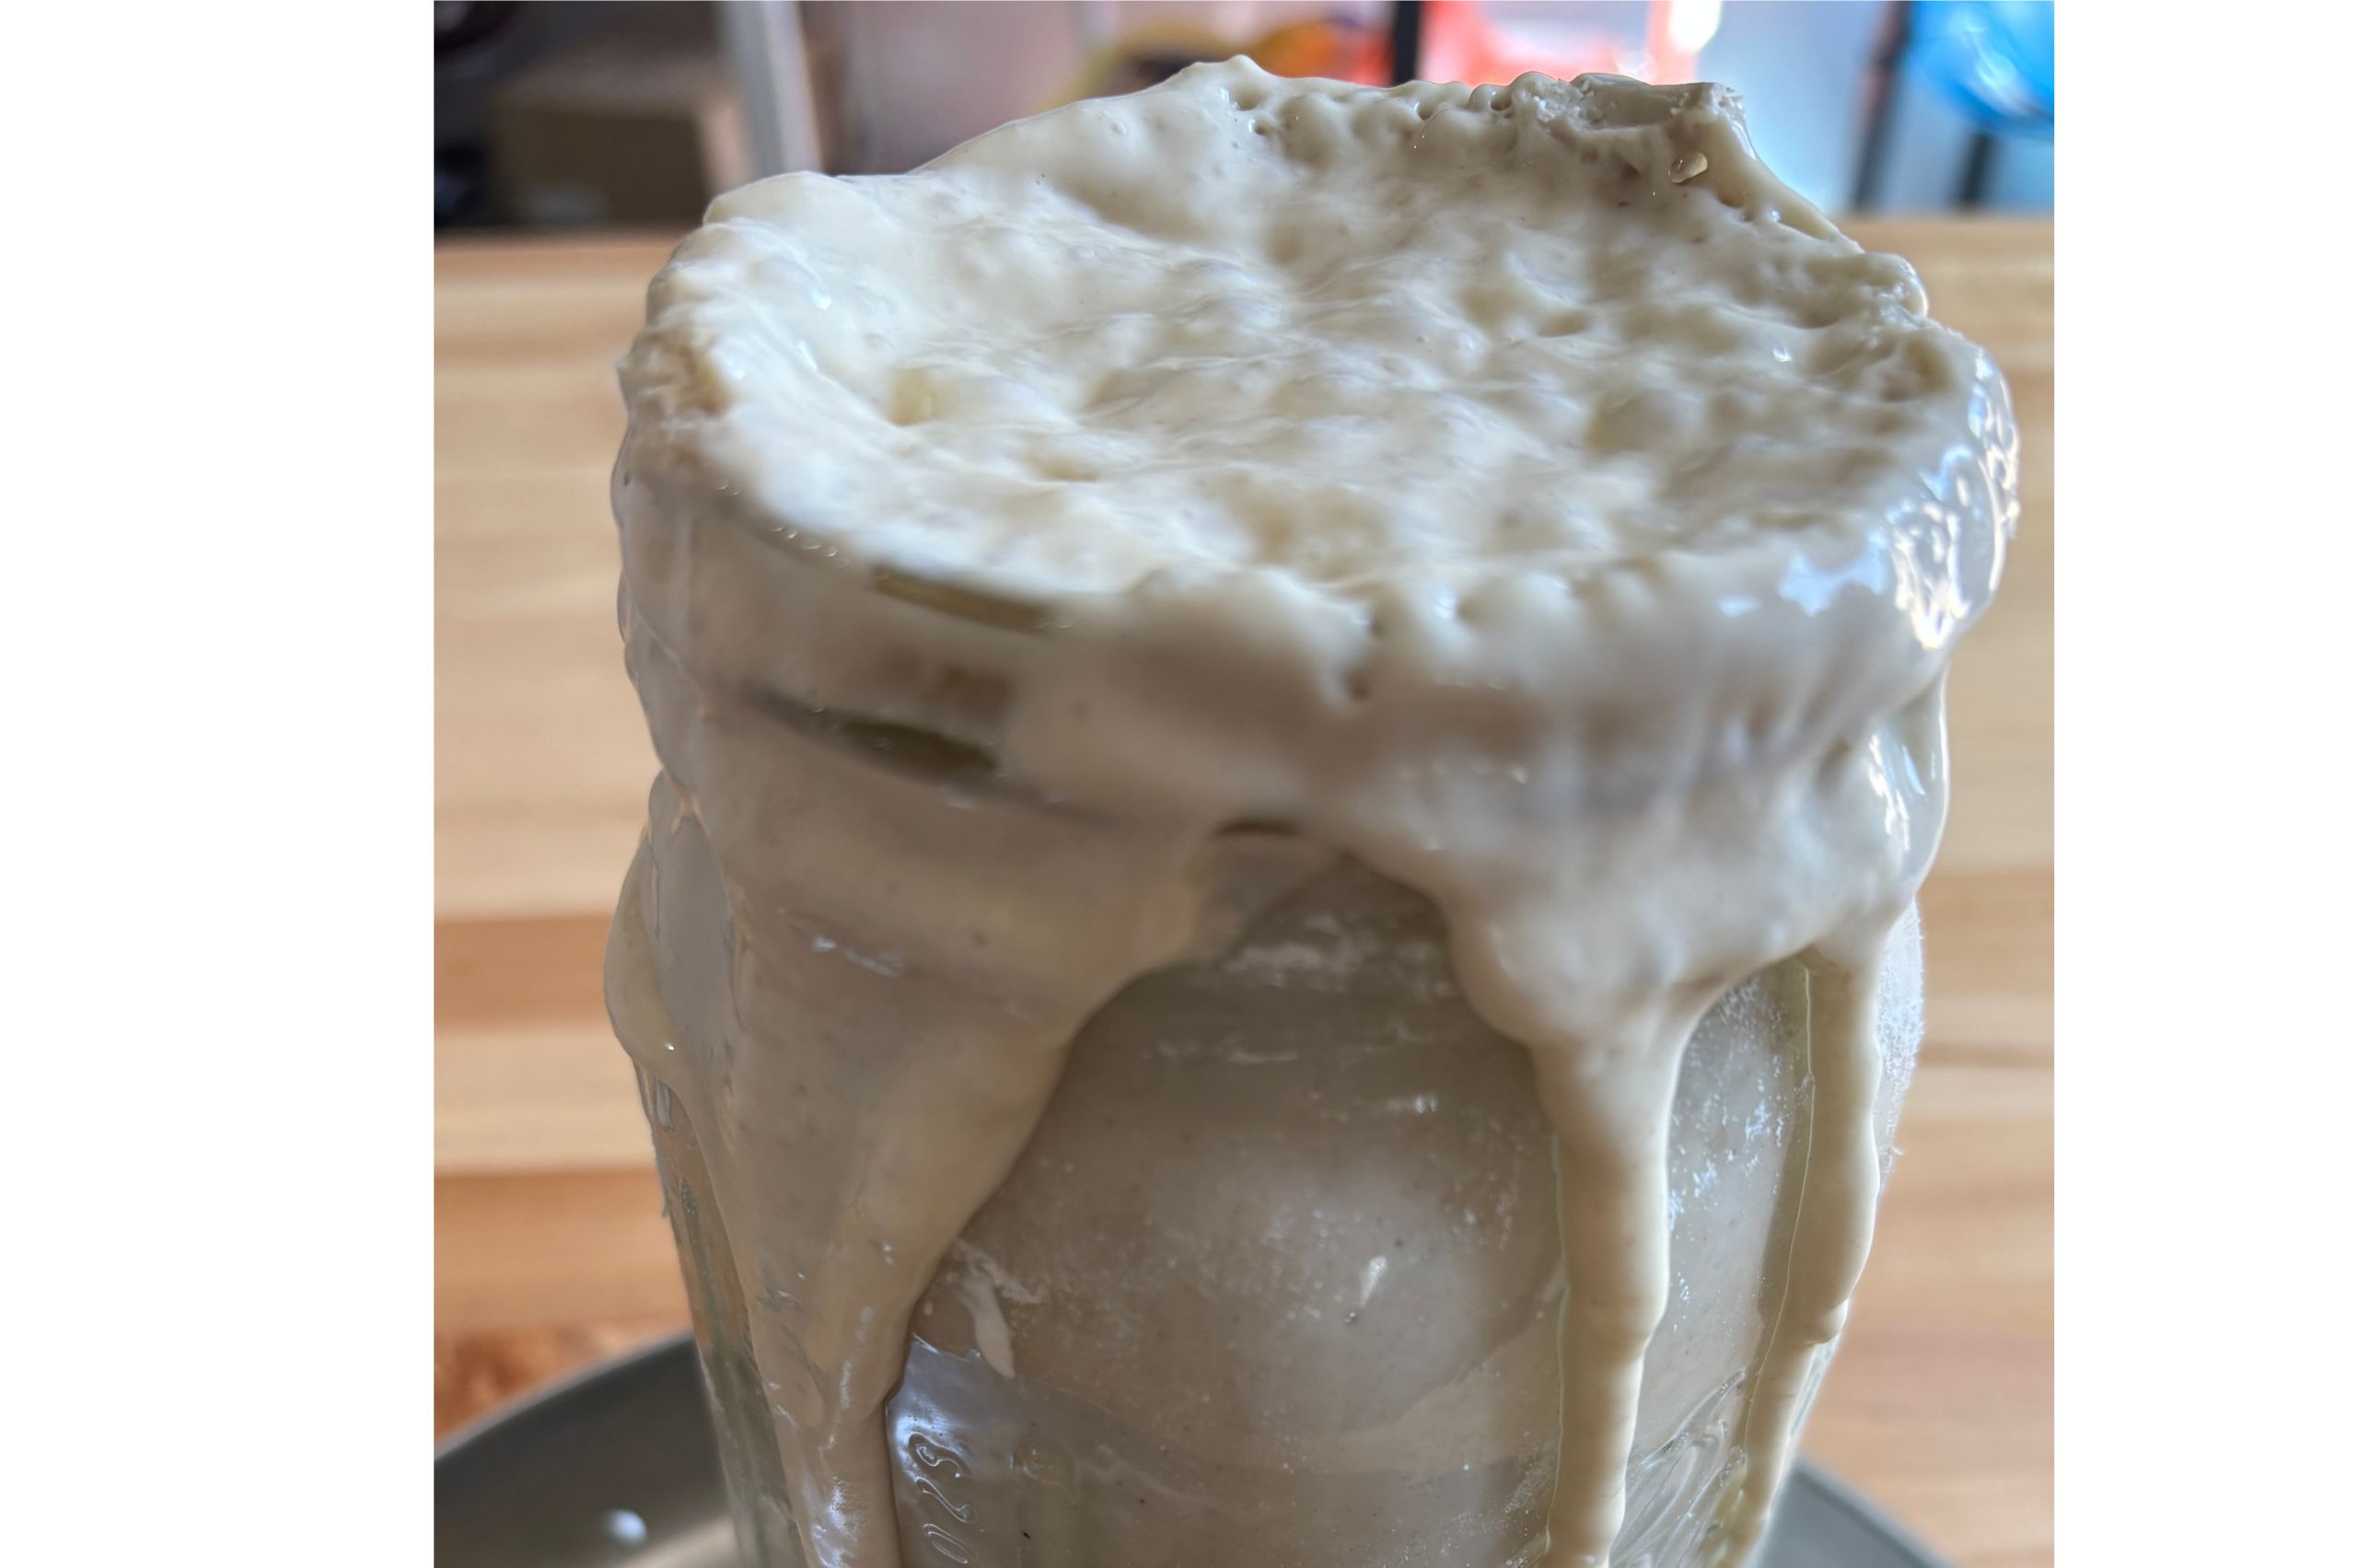
- The Key: Watch your starter, not the calendar. If it doubles in size a few hours after feeding, it’s strong and ready to go. You can adjust your feeding schedule to match your starter’s energy.
The Health Secret: Why Sourdough is Better for You
Sourdough isn’t just about that delicious, tangy flavor; it’s genuinely a healthier bread choice. The secret is the long fermentation process, which is what your starter is doing every day.
- Easier to Digest (Gut Health!): Sourdough bread is made through a slow ferment, not a fast rise with commercial yeast. During this long rest, the beneficial bacteria break down some of the complex carbohydrates and even the gluten in the flour. This process essentially pre-digests the bread for you, making it much gentler on your stomach and easier to absorb.
- More Nutrients: That same slow process helps reduce something called phytic acid, which is a compound in grains that can stop your body from taking in important minerals like iron, zinc, and magnesium. With sourdough, these minerals become easier for your body to access!
- Lower Glycemic Index: Sourdough has a lower impact on your blood sugar compared to standard white bread. This means it causes a slower, more gradual rise in blood sugar, giving you steadier energy.
When you bake sourdough, you are making food that is better for your gut health and gives you more nutrition from the same simple ingredients.
Beyond the Loaf: A New World of Baking Opens Up
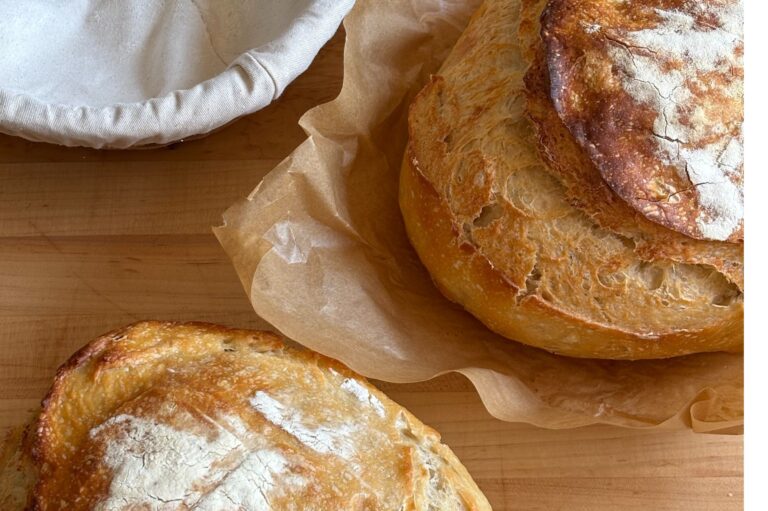
The best part about having a strong, active sourdough starter is that it unlocks dozens of recipes you never knew you could make. It’s not just about that gorgeous, crusty boule (though you will make those!).
Your starter can be used in two ways:
- Active Starter: The bubbly, freshly fed portion used for traditional, high-rising bread. Here is the link to my sourdough bread recipe and my daily Sourdough feeding ratios one your have an active starter.
- Discard: The portion you remove before feeding—it’s not trash! It’s perfect for adding a wonderful tang and tenderness to many other quick bakes.
With your new sourdough starter, you can start making:
- Pancakes and Waffles: Sourdough pancakes are the best—fluffy, slightly tangy, and incredibly satisfying.
- Pizza Dough: A sourdough crust gives your homemade pizza an amazing, deep flavor and a crisp chew.
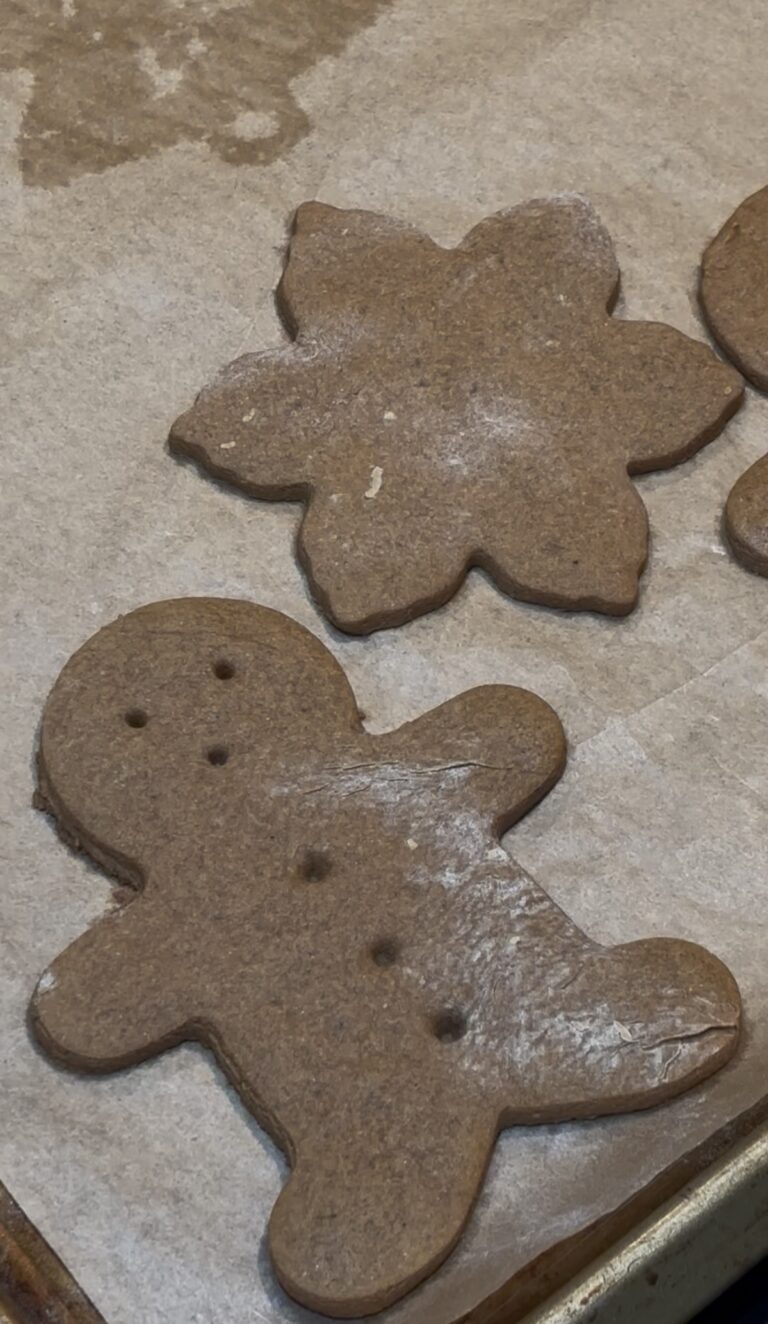
- Crackers: You can roll out and bake thin, crispy crackers using only the “discard” that you usually throw away!
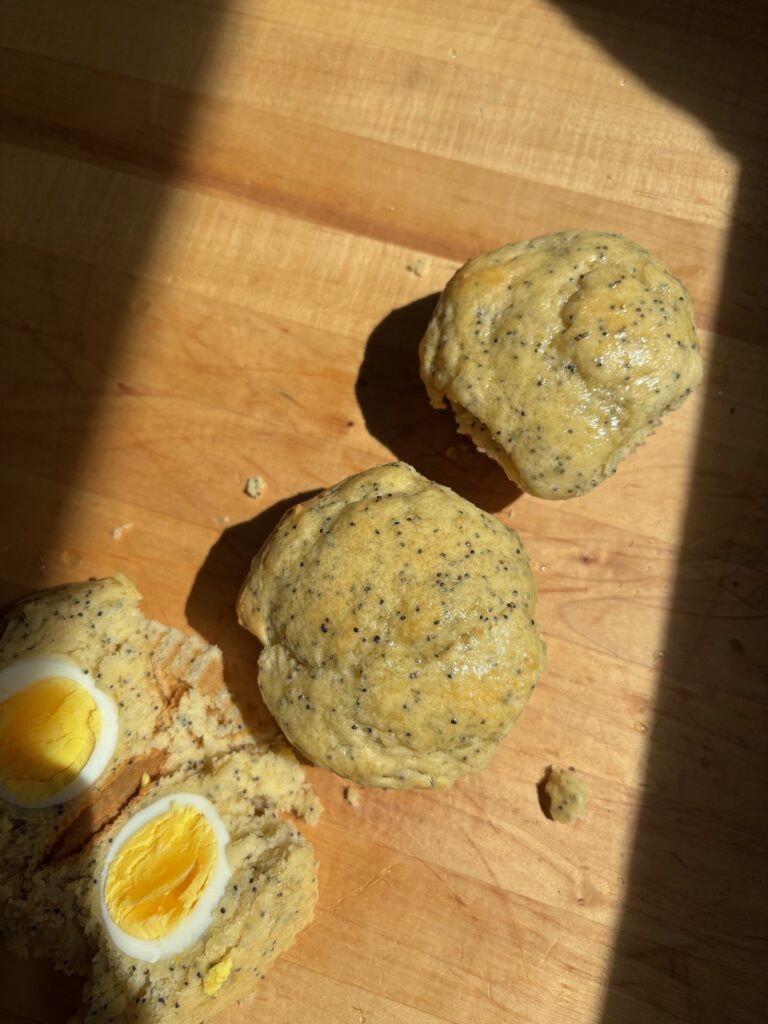
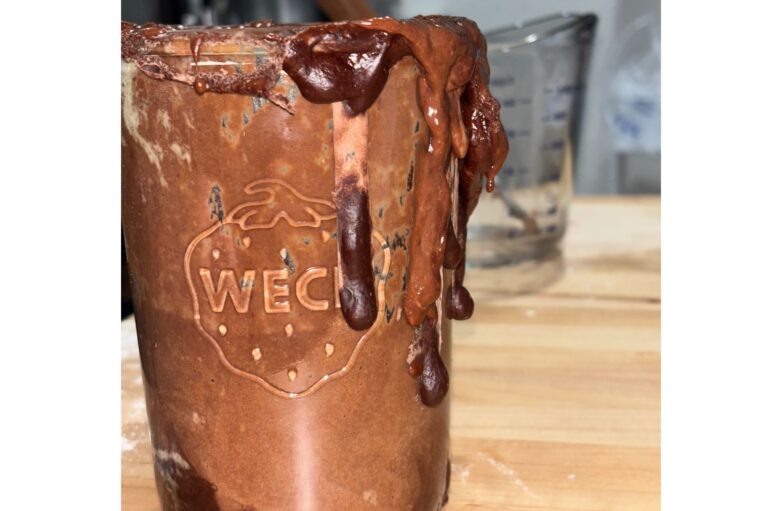
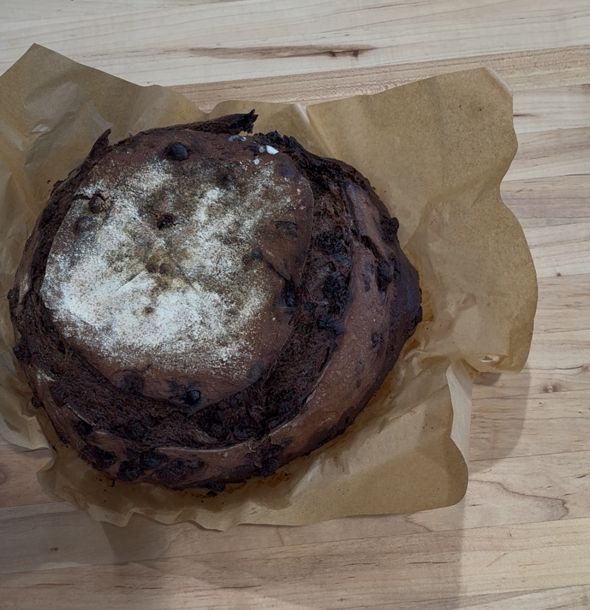
- Bagels, Muffins, and More! The possibilities are endless. Check out my recipe for chocolate sourdough bagels
Starting your sourdough journey at high altitude is not a hurdle; it’s an advantage. It’s affordable, it’s easy to maintain, and it gives you a healthy, life-changing ingredient that will completely change the way you see your kitchen. So grab a jar, mix that flour and water, and welcome your new, bubbly friend into your high-altitude home.
What is bulk fermentation?
This is the part that takes the longest. This is where the wild yeast and the gases mix up to make the dough rise. Once your starter is nice and active and you are baking bread with it is when this step matters. After you have mixed your starter together with the flour, water, and salt there is a period after the stretch and folds where you let the sourdough sit. You can let it sit on the counter top where it will double in size, but the preferred method is to place it in the fridge overnight and let it ferment slower. The develops more of the sourdough flavor and makes it strong and sturdy.
Sourdough Starter
Equipment
- 2 glass jars
- 1 kitchen scale
- 1 wooden mixer
Ingredients
- 100 grams all-purpose unbleached
- 80 grams Filtered water
Instructions
- Day 1Mix your flour and water together. Let sit on counter with a lid covered loosely for 24 hours. (start at 8am)
- Day 2After the 24 hours you are going to grab your second jar and put 100g of that new sourdough starter in the jar, add 100g flour, and 80g water. Mix together thoroughly, where there are no more flour particles or patches of water, it will look like a big clump. That is fine. Let is sit again for another 24hours. (this would be at 8am the next day)
- Day 3-first feed This is where we feed two times a day. In the morning repeat step 2. Grab your second jar and put 100g of that new sourdough starter in the jar, add 100g flour, and 80g water. Mix together thoroughly, where there are no more flour particles or patches of water. Let sit on counter with a lid covered loosely. (8 am do this)
- Day 3-second feed Grab your second jar and put 100g of that new sourdough starter in the jar, add 100g flour, and 80g water. Mix together thoroughly, where there are no more flour particles or patches of water. Let sit on counter with a lid covered loosely. (8pm)
- Day 4-first feedGrab your second jar and put 100g of that new sourdough starter in the jar, add 100g flour, and 80g water. Mix together thoroughly, where there are no more flour particles or patches of water. Let sit on counter with a lid covered loosely. (8am)
- Day 4-second feedGrab your second jar and put 100g of that new sourdough starter in the jar, add 100g flour, and 80g water. Mix together thoroughly, where there are no more flour particles or patches of water. Let sit on counter with a lid covered loosely. (8pm)
- Day 5-first feedGrab your second jar and put 100g of that new sourdough starter in the jar, add 100g flour, and 80g water. Mix together thoroughly, where there are no more flour particles or patches of water. Let sit on counter with a lid covered loosely. (8am)
- Day 5-second feedGrab your second jar and put 100g of that new sourdough starter in the jar, add 100g flour, and 80g water. Mix together thoroughly, where there are no more flour particles or patches of water. Let sit on counter with a lid covered loosely. (8pm)
- Day 6-first feedToday we can start playing around with the ratios to where you live. If you live in Utah with high altitude and low humidity then these next steps will be what you follow. If you live else where it is time to research proper feeding ratios for you and your starter. Grab your second jar and put 50g of that new sourdough starter in the jar, add 100g flour, and 90g water. Mix together thoroughly, where there are no more flour particles or patches of water. Let sit on counter with a lid covered loosely. (8am)
- Day 6-second feedGrab your second jar and put 50g of that new sourdough starter in the jar, add 100g flour, and 90g water. Mix together thoroughly, where there are no more flour particles or patches of water. Let sit on counter with a lid covered loosely. (8am)
- Day 7-first feedGrab your second jar and put 40g of that new sourdough starter in the jar, add 135g flour, and 110g water. Mix together thoroughly, where there are no more flour particles or patches of water. Let sit on counter with a lid covered loosely. (8am)
- Day 7-second feedGrab your second jar and put 35g of that new sourdough starter in the jar, add 140g flour, and 120g water. Mix together thoroughly, where there are no more flour particles or patches of water. Let sit on counter with a lid covered loosely. (8pm). After today you are able to save your discard for recipes!! If your starter is still not bubbly then repeat the steps on day 5 for as long as you need.
- Day 8Today is the day you feed your starter in the morning and if it is active then it is ready to use for bread! Grab your second jar and put 30-40g of that new sourdough starter in the jar, add 135-145g flour, and 110-125g water. Mix together thoroughly, where there are no more flour particles or patches of water. Let sit on counter with a lid covered loosely. (8am)

I’d leave 10 stars if I could!
Excellent! My sourdough is fermenting thanks to you!
Super easy to follow! Super excited to get going with my sourdough.
This is the most delicious sourdough recipe I’ve ever come across.
Danielle always has the best recipes for sourdough! Super simple and clear instructions for beginners!
Can’t wait to make this!!
Easily my favorite starter recipe, and the instructions are clear to follow. I’m so glad I was able to find this page!!
Great recipe!
Love that this is easy directions for where I live! Can’t wait to give it a try!
Just started my first starter 🙂 Danielle has the most delicious bread ever, recipes are amazing!
Clear and concise instructions that are easy to follow for myself and even my toddler!
Amazing directions that are simple and easy to follow!
This chocolate sourdough is dangerously good! I’m already planning my next loaf. So soft, rich, and delicious.. I didn’t even know sourdough could taste this good!
You’ve helped me to keep my starter alive!! Sourdough is easier than we sometimes think it is!